

How Do I Clean The Condenser Coils On My Refrigerator?
When was the terminal fourth dimension you cleaned your fridge condenser coils? If your reply is, "I can't remember," or "never," it'due south time to accept a look at fridge condenser ringlet cleaning. Having dirty condenser coils reduces the efficiency and longevity of your refrigerator (and nosotros don't want that, do we?). Luckily, this is an like shooting fish in a barrel DIY job that you can practice in less time than information technology takes to cook dinner.
Set aside fifteen-20 minutes for this small maintenance task, and you'll accept clean refrigerator condenser coils and enjoy a cool, more efficient fridge.
Fridges are an essential (and expensive) home appliance. Make refrigerator condenser ringlet cleaning part of your regular fridge maintenance to extend the life of your refrigerator and keep your repair bills to a minimum.
What exactly are refrigerator condenser coils?
Condenser coils are the curved metallic tubes that yous tin find either forth the front (base) of a refrigerator, or forth the back. Its purpose is to help cool and condense refrigerant and also disperse rut.
Since they the fridge coils are in difficult-to-clean areas, they get covered in grit, dirt, hair, and other household debris over time. Dirty condenser coils can't effectively release rut making your fridge less efficient.
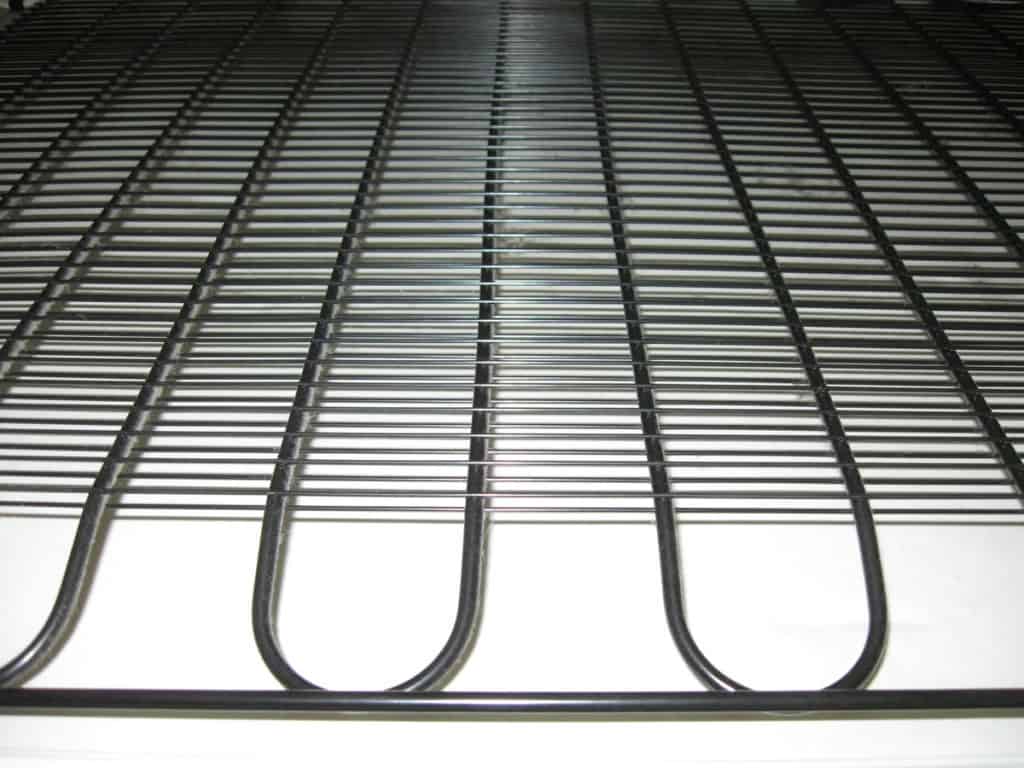
Credit: Bruno Longo / Flickr
Signs your fridge condenser curlicue needs cleaning
Chock-full or dirty fridge coils impact the functioning and longevity of your fridge.
One of the easiest ways to cheque if your coils demand cleaning is to but take a quick look to see if the surface area is clogged up. Dust bunnies? Time to clean.
Another sign that your condenser coils require cleaning is if the temperature of your refrigerator is too warm (even afterwards you've set it to the advisable temperature). Your nutrient isn't cool enough. This could potentially lead to nutrient prophylactic problems if temperature becomes too warm.
You may hear your compressor click on or off throughout the day. When your refrigerator condenser coils are muddy, heat isn't released properly making the compressor work overtime. This eventually leads to the compressor wearing down and needing repair or replacement.
Note: Some newer GE fridge models have NeverClean™ Condenser coils that are maintenance-free. Unlike almost fridges that have exposed coils, these NeverClean models keep coils safely tucked away in a compartment.
Fridge condenser gyre cleaning stride-by-step
While nobody wants to add to their to-do list, this one'southward really no sweat.
What you'll need:
- Vacuum with narrow attachment
- Condenser brush
- Flashlight
- Clean cloth
- Mask (optional)
- Big piece of paper-thin to protect flooring if moving refrigerator (optional)
An all-purpose appliance castor is fairly inexpensive. You tin find 1 at well-nigh hardware stores. Your fridge manufacturer likely besides sells condenser brushes. Y'all tin can utilize these brushes to make clean your air conditioner and freezer too.
Condenser brushes have a tapered brush caput especially designed to fit into hard-to-accomplish crevices like refrigerator coils. They're roughly 25 inches (64 centimeters) long.
If you don't take a condenser brush handy, a pocket-sized nylon-bristled (or similar) brush tin as well do the trick.
While information technology'due south not absolutely necessary to have a mask, y'all may desire to use one if you're sensitive to dust. If y'all have a fridge with coils located on the dorsum, you may need a helping hand to motion the fridge abroad from the wall.
And of grade y'all'll demand to locate the condenser coils on your refrigerator (either at the rear, or front of your fridge). Information technology's also a good idea to consult with your manufacturer's guide to see whether in that location's any special instructions when it comes to fridge condenser coil cleaning.
Allow'south go started!
Step 1
Unplug the fridge. This is an important safe measure out that protects you from electrocution and besides prevents the refrigerator fan (located behind the coils) from harm while you're cleaning the coils.
Step 2
Access the coils. Depending on the mode of refrigerator you take, you lot'll have either front or rear-facing coils.
Forepart coils:
- Remove the protective cover or grille from the base of the front end. This should come off fairly easily—lift the cover upwardly and pull it slightly towards yous.
Rear coils:
- Pull the fridge away from the wall. Give yourself at least 1 meter or more to piece of work effectually. Some fridges may have wheels, while others may require the use of a rails. Enlist a friend to help with this step. Yous may want to place a piece of cardboard on the flooring to protect it.
Step iii
Practise a preliminary vacuum of any large dust bunnies and debris effectually the fridge and coils. If the fan is accessible, requite this a quick vacuum with a narrow attachment making sure not to damage the blades.
Wipe protective front cover with a damp fabric as needed.
Step four
Using your flashlight, take a good wait at your condenser coils to see which areas demand special attending and cleaning. Work your castor gently in and around the coils. While condenser coils may feel solid, they are yet decumbent to damage if you're not careful.
Continue using your condenser brush and vacuuming with a narrow attachment caput until the condenser coils are make clean. Don't fret if you can't get every nook and cranny clean. So long as you clean off nearly of the large debris, yous should be adept to go.
Step 5
Reattach front encompass for front-facing coils. Motility the fridge back if you have rear-facing coils.
Tip: It's important that your fridge has sufficient space from the back wall and along the tiptop to office at its all-time. Keep at to the lowest degree 1 inch (2.five centimeters) of space, preferably more, from the dorsum wall to allow for proper air circulation.
DIY fridge coil cleaner
Sometimes a condenser castor and vacuum isn't enough. If you accept years of caked-on grime, you'll need the help of a roll cleaner. Here'southward an easy DIY recipe from Tips Bulletin using natural ingredients y'all'll already.
You'll need:
- Empty spray bottle
- Warm water
- i teaspoon white vinegar
- 1 teaspoon rubbing alcohol
- Blistering soda
- Make clean, dry cloth
Combine the white vinegar and rubbing booze in the spray bottle. Add a little bit of warm water. Gently swirl to mix the solution. Spray your DIY coil cleaner liberally where needed. Permit sit down for 5 minutes. Then wipe make clean with a dry material.
For stubborn, stuck-on stains, sprinkle some baking soda followed by a few spritzes of curlicue cleaning solution.
Repeat as needed.
How frequently should I make clean my refrigerator condenser coils?
You lot should make clean your fridge condenser coils at least once a year. However, if yous have a furry friend that sheds, yous'll likely need to clean the coils more often.
More often than not, front end-facing refrigerator coils are also more than decumbent to dust aggregating than rear-facing ones.


Source: https://rusticwise.com/fridge-condenser-coil-cleaning/
Posted by: olivastwore1996.blogspot.com
0 Response to "How Do I Clean The Condenser Coils On My Refrigerator?"
Post a Comment